Soft & Fluffy Gluten Free Dinner Rolls Recipe – Perfect for Any Meal
Gluten Free Dinner Rolls Your New Favorite Recipe!
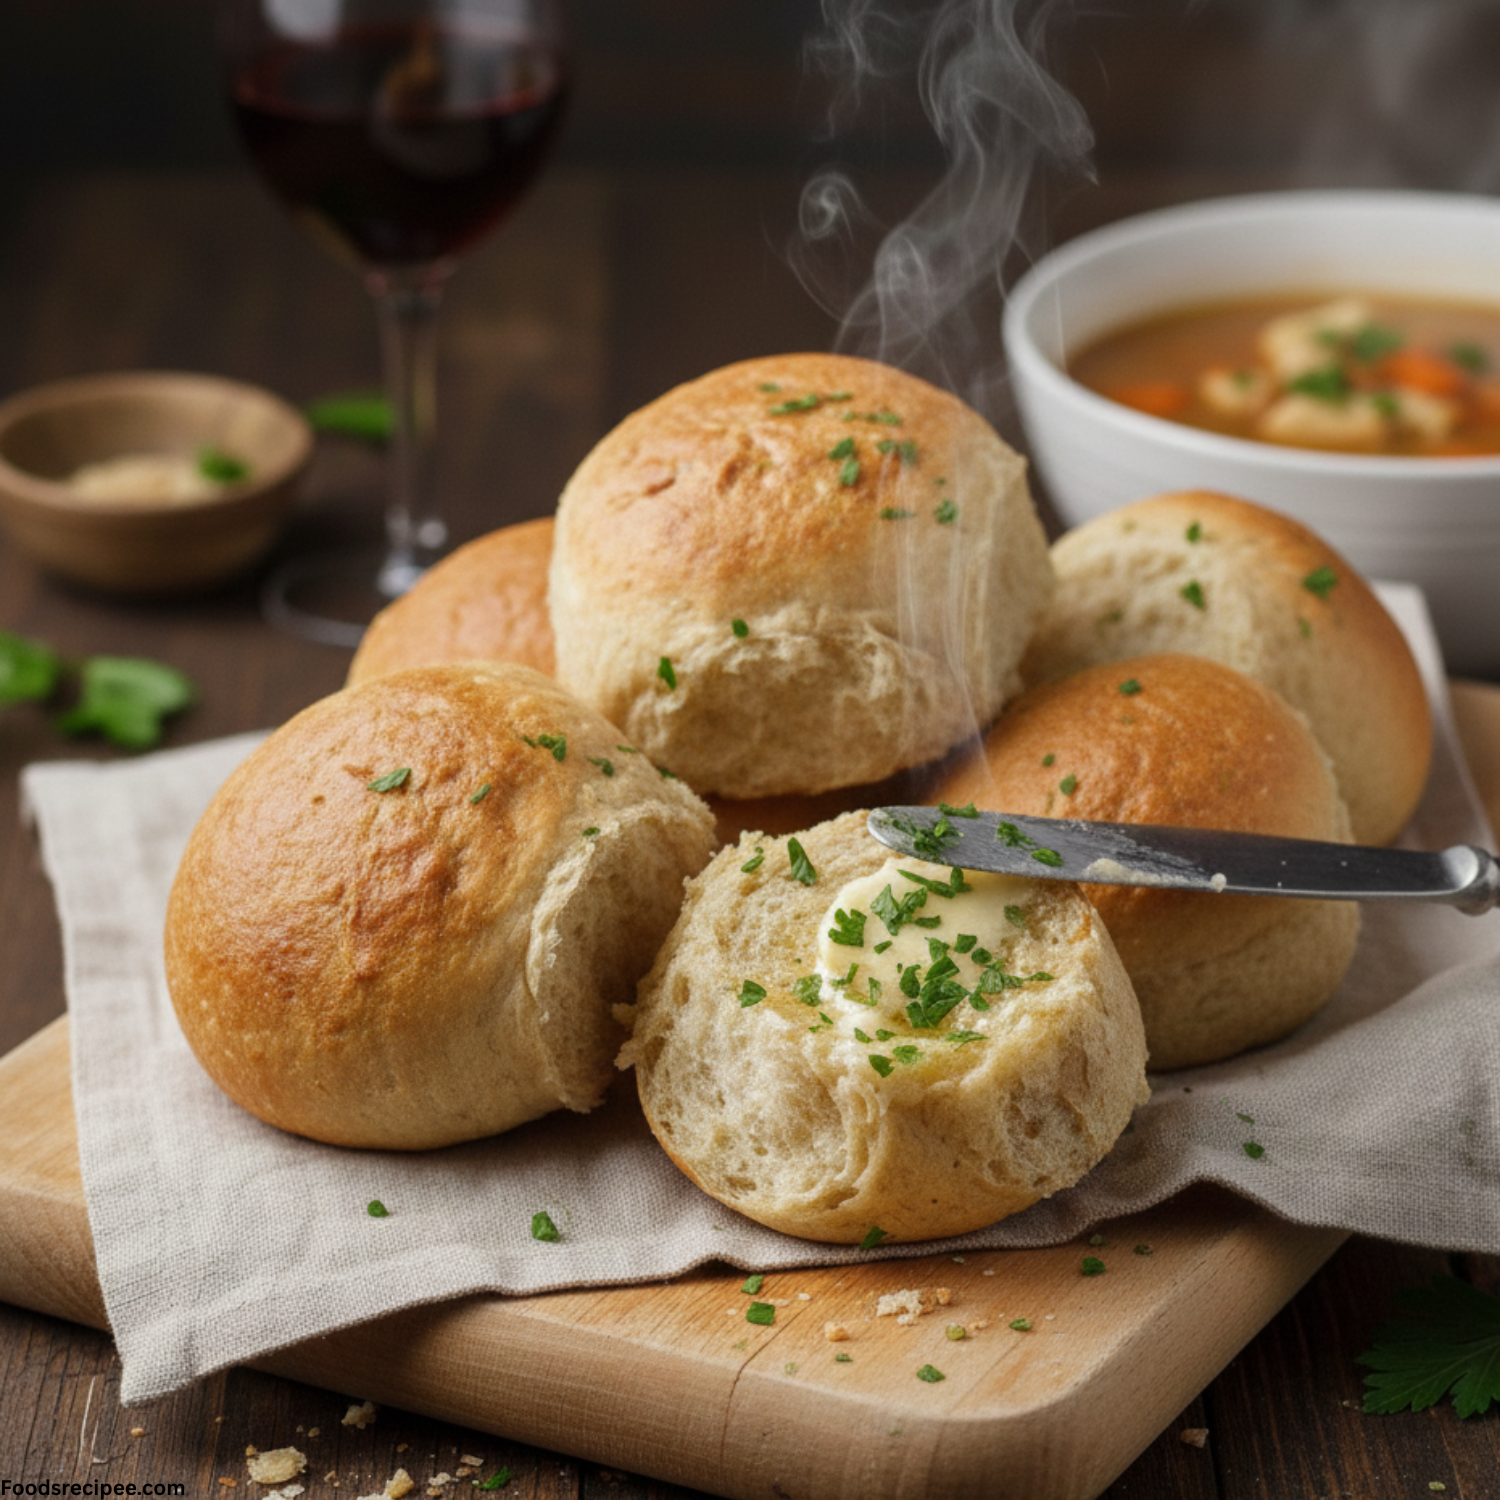
Are you tired of dry, crumbly, or dense gluten-free dinner rolls that just don’t measure up to their wheat-filled counterparts? If so, get ready for a game-changer! This recipe for Soft Gluten Free Dinner Rolls will transform your table with rolls so light, airy, and delicious, no one will guess they’re gluten-free.
Whether it’s a holiday feast, a cozy weeknight dinner, or a special gathering, these rolls are guaranteed to be a crowd-pleaser. Say goodbye to store-bought disappointments and hello to warm, homemade perfection!

Table of Contents
Why These Are the BEST Gluten Free Dinner Rolls You’ll Ever Make
- Pillowy Soft Texture: We’re talking melt-in-your-mouth soft, with a delicate chew.
- Easy to Make: Don’t be intimidated by yeast! Our step-by-step guide makes it simple for even beginner bakers.
- Holds Its Shape: Unlike some GF breads that spread, these rolls rise beautifully and keep their form.
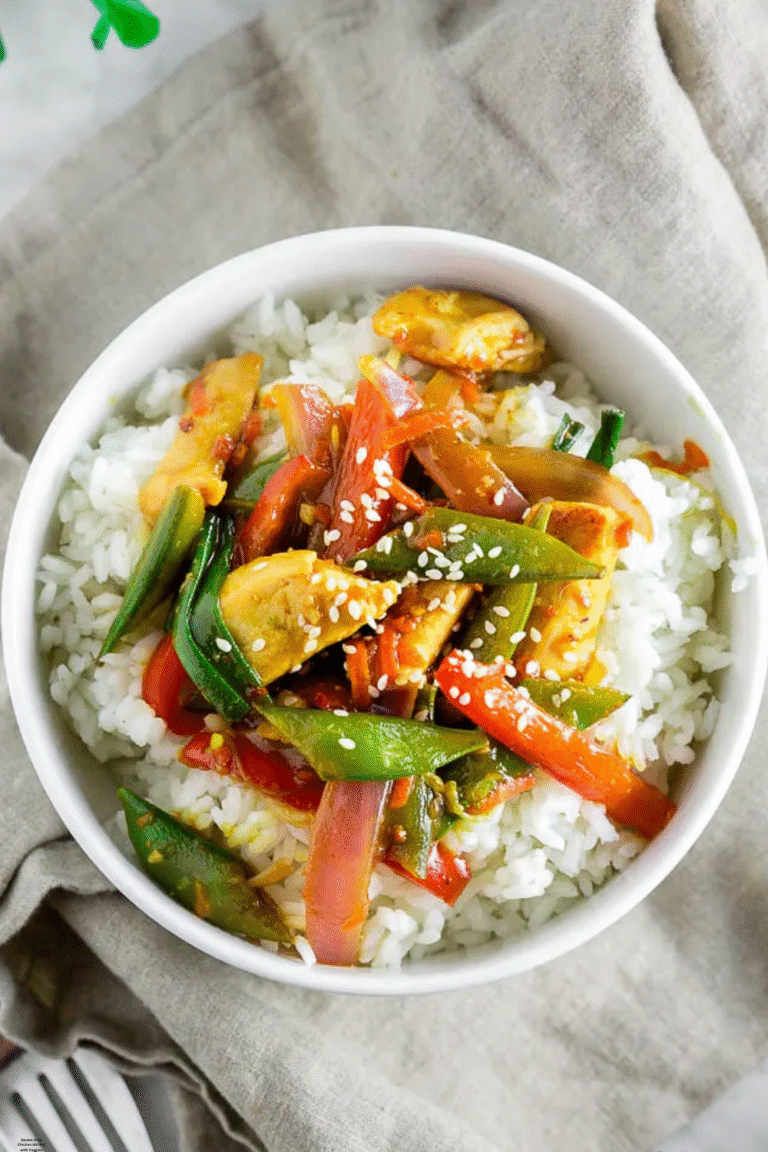
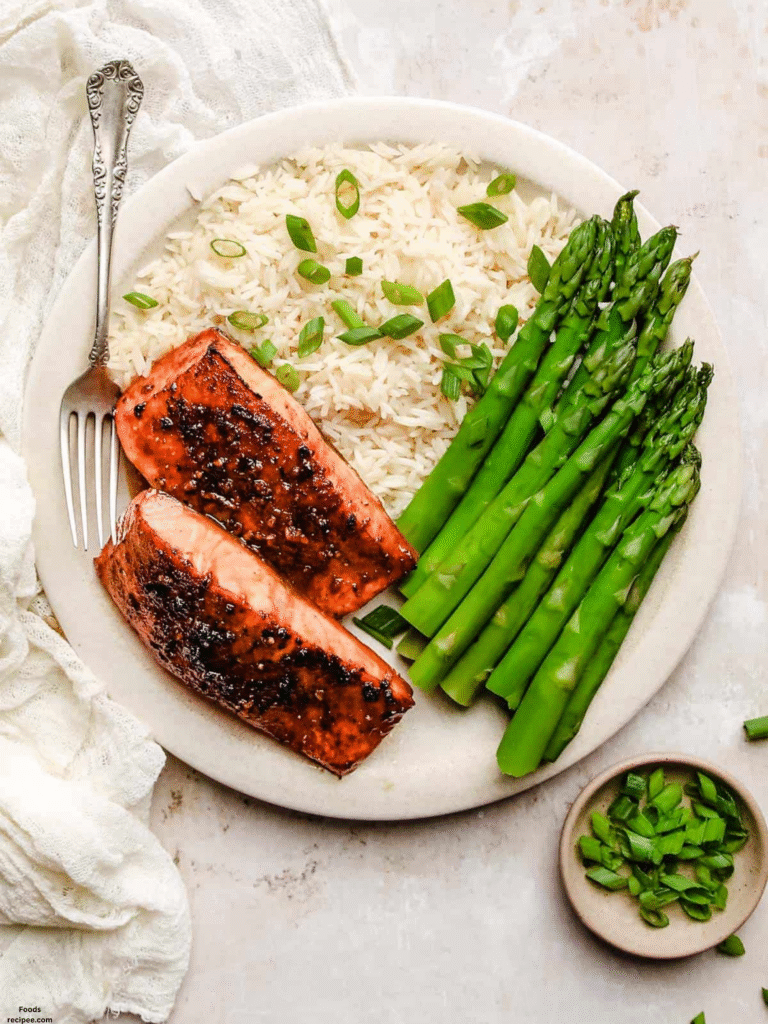
- Versatile: Perfect for soaking up gravy, accompanying a soup, or as mini-sandwiches.
- Freezer-Friendly: Make a big batch and freeze them for easy meal prep!

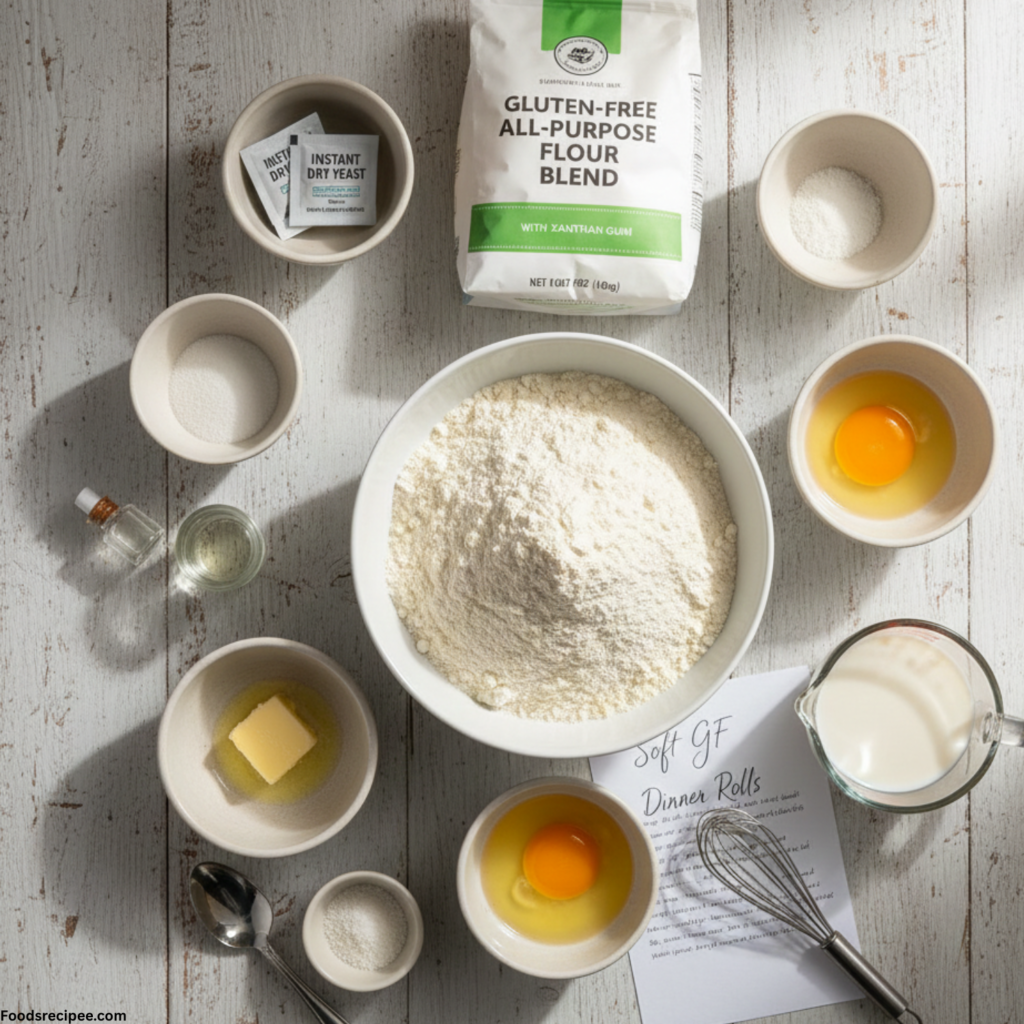
Ingredients Note
Creating truly soft gluten-free bread requires a careful balance of ingredients. Here’s what you’ll need and why:
- Gluten-Free All-Purpose Flour Blend: (Crucial!): Look for a high-quality blend that specifically states it contains xanthan gum. This is your gluten substitute, providing structure and elasticity. If your blend doesn’t have it, add 1 teaspoon per cup of flour.
- Active Dry Yeast: Ensure it’s fresh! Expired yeast is the number one cause of flat bread.
- Warm Milk (Dairy or Non-Dairy): (105F – 115F is ideal). Milk provides richness and helps with browning. The temperature is critical for activating the yeast without killing it.
- Sugar (Granulated or Honey): Feeds the yeast, promotes browning, and adds a touch of sweetness.
- Eggs (Room Temperature): Add richness, bind ingredients, and provide essential structure. Room temperature eggs mix more evenly.
- Melted Butter (or Vegan Butter): Adds moisture, flavor, and helps tenderize the dough.
- Apple Cider Vinegar: A secret weapon in GF baking! It helps tenderize the crumb and aids in the yeast’s activity.
- Salt: Balances flavors and controls yeast activity.
Step-by-Step: How to Bake Soft Gluten Free Dinner Rolls
Making homemade rolls might seem daunting, but with these clear instructions, you’ll be a gluten-free bread boss in no time!
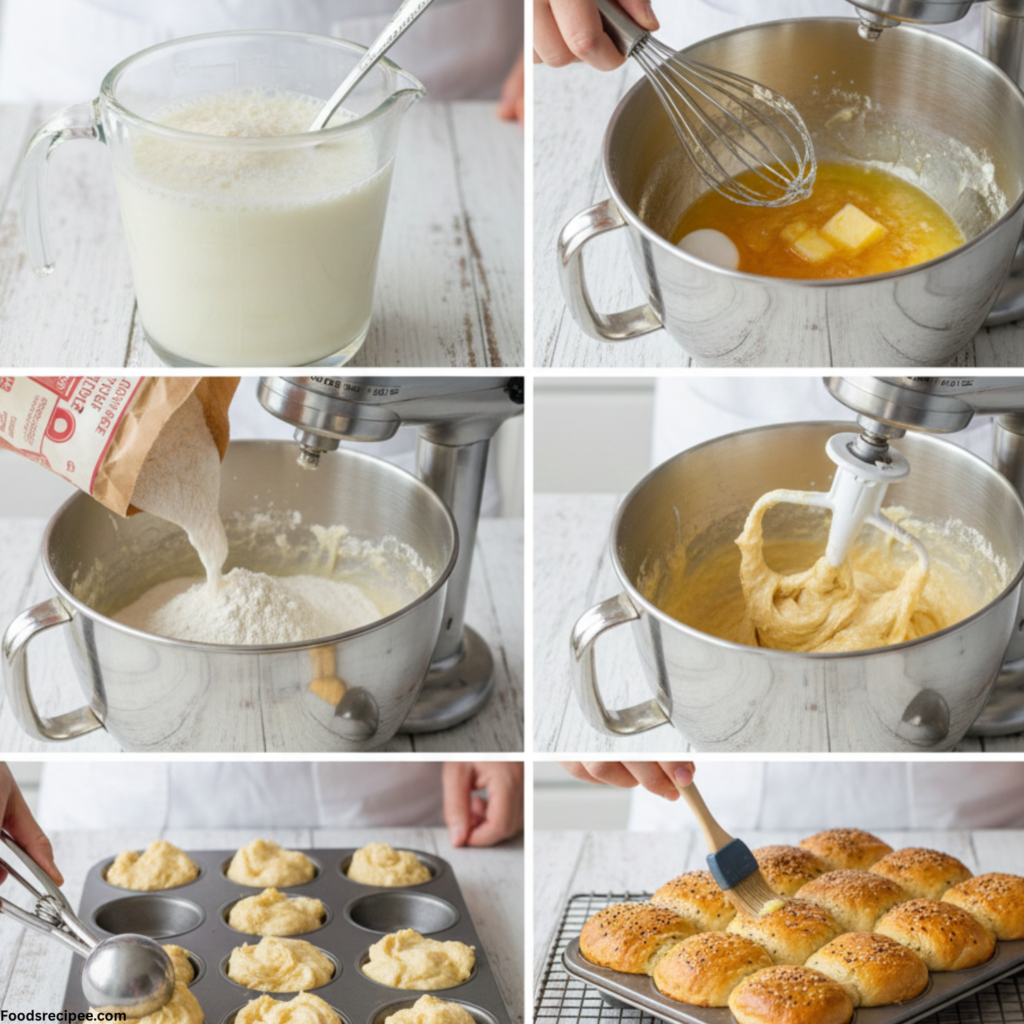
- Activate the Yeast: In a large bowl, combine the warm milk, sugar, and active dry yeast. Stir gently and let it sit for 5-10 minutes until it becomes foamy. This confirms your yeast is alive and ready to work!
- Combine Wet Ingredients: Whisk in the eggs, melted butter, and apple cider vinegar into the yeast mixture.
- Add Dry Ingredients: Gradually add the gluten-free flour blend and salt to the wet ingredients. Mix on low speed with a stand mixer (paddle attachment) or with a sturdy wooden spoon until just combined.
- Beat for Structure: Increase the mixer speed to medium-high and beat for 3-4 minutes. This step is crucial for developing the structure in gluten-free dough, mimicking the work of gluten. The dough will be soft and sticky, more like a thick cake batter than traditional bread dough – this is perfectly normal!
- Shape the Rolls: Grease a 9×13-inch baking pan. Using a large cookie scoop or lightly oiled hands, scoop evenly sized portions of dough (about 1/4 cup each) into the prepared pan, leaving a little space between each roll.
- Second Rise: Cover the pan loosely with plastic wrap or a clean kitchen towel. Place it in a warm, draft-free spot (like a slightly warm oven, or near a sunny window) for 45-60 minutes, or until the rolls have visibly doubled in size.
- Preheat & Prepare for Bake: Preheat your oven to 375F ,190C. If desired, lightly brush the tops of the risen rolls with a beaten egg wash for a golden, glossy finish.
- Bake to Golden Perfection: Bake for 20-25 minutes, or until the rolls are golden brown on top and sound hollow when lightly tapped.
- Cool & Enjoy: Remove from the oven and, if desired, brush with a little extra melted butter for extra shine and flavor. Let them cool in the pan for a few minutes before transferring to a wire rack. Serve warm!
Tips for Success: Achieve Perfect GF Rolls Every Time
- Don’t Over-Flour: Resist the urge to add more flour if the dough seems sticky. Gluten-free dough is naturally wetter. Adding more flour will result in dry, dense rolls.
- Warm Environment for Rising: Yeast loves warmth! A slightly warm oven (turned off, with the light on) or a sunny spot can significantly help your rolls rise.
- Don’t Over-Bake: Over-baking is the enemy of soft rolls. Start checking at 20 minutes; they should be golden, not dark brown.
- Storage: Store leftover rolls in an airtight container at room temperature for up to 2-3 days. Reheat gently in the microwave or oven.
- Freezing Instructions: Once completely cooled, place rolls in a freezer-safe bag or container and freeze for up to 2 months. Thaw at room temperature and reheat.
Frequently Asked Questions (FAQs)
Q: Can I make these dairy-free?
A: Absolutely! Use a non-dairy milk alternative (like almond or soy milk) and a vegan butter substitute. The results are still fantastic.
Q: My rolls didn’t rise. What went wrong?
A: The most common culprits are: expired yeast, water/milk that was too hot (killed the yeast) or too cold (didn’t activate it), or a very cold environment for rising. Double-check your yeast expiration and milk temperature next time!
Q: Why are my rolls gummy inside?
A: Gummy texture often indicates under-baking. Ensure the rolls are fully golden brown and baked through. Allow them to cool sufficiently before slicing or tearing apart.
Instructions
- Bloom the Yeast: Combine warm milk, sugar, and yeast in your mixer bowl. Let sit for 10 minutes until a thick foam forms on top.
- Mix the Base: Add eggs, melted butter, and apple cider vinegar. Whisk briefly to combine.
- The “High-Speed” Beat: Add the GF flour and salt. Use the paddle attachment to beat on medium-high speed for 4 minutes. The dough should look like thick, sticky frosting.
- Shape: Scoop dough into 12 even mounds in a greased baking pan. Use wet fingers to smooth any jagged tops.
- The Rise: Cover with a light cloth and place in a warm spot for 60 minutes. They should be touching each other and look puffy.
- Bake: Brush with an egg wash (1 egg + 1 tbsp water). Bake at 375F for 20–25 minutes until the internal temperature reaches 205F.
Notes
- The “Flour” Rule: Use a blend containing xanthan gum. If yours doesn’t have it, add 1.5 teaspoons to this recipe or the rolls will collapse.
- Don’t Sift: Unlike cake flour, GF bread flour should be measured by weight or the “spoon and level” method to avoid packing it too tightly.
- Smooth Tops: Since GF dough doesn’t have a “skin” like wheat dough, use a wet spatula or wet hands to smooth the rolls before they rise for a professional look.
SPECIAL NOTE
The “Oven Spring” Trick: If your house is cold, preheat your oven to the lowest setting for 1 minute, then turn it OFF. Place your covered rolls inside with a pan of steaming water on the rack below. This creates a makeshift “proofer” that helps gluten-free yeast bread rise much higher and faster.
Nutrition
Per Serving (1 Roll)
| Nutrient | Amount |
| Calories | 185 kcal |
| Total Fat | 7g |
| Sodium | 210mg |
| Total Carbs | 28g |
| Fiber | 3g |
| Protein | 4g |
Nutrition Disclaimer
Nutritional Accuracy: The values provided are automated estimates. Gluten-free ingredients vary significantly—for example, a flour blend based on brown rice will have more fiber than one based on cornstarch. To get the most accurate count for your dietary needs, we recommend plugging your specific brand of flour and butter into a nutritional calculator.