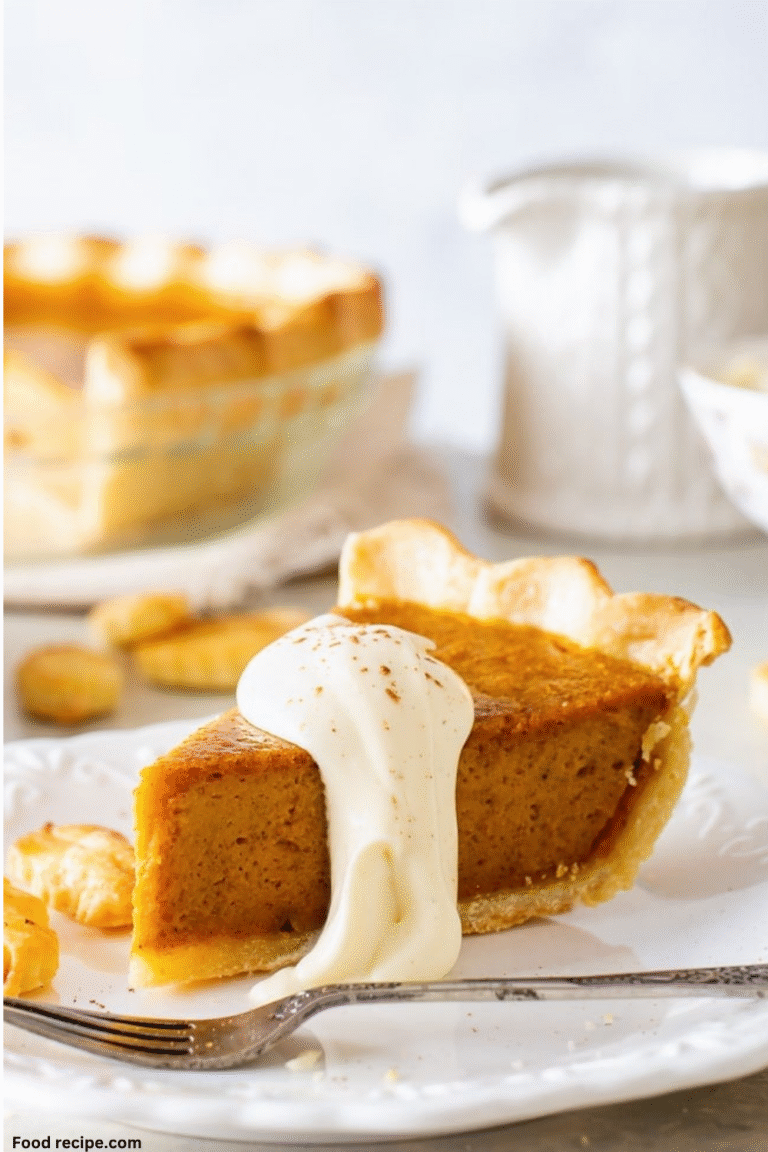
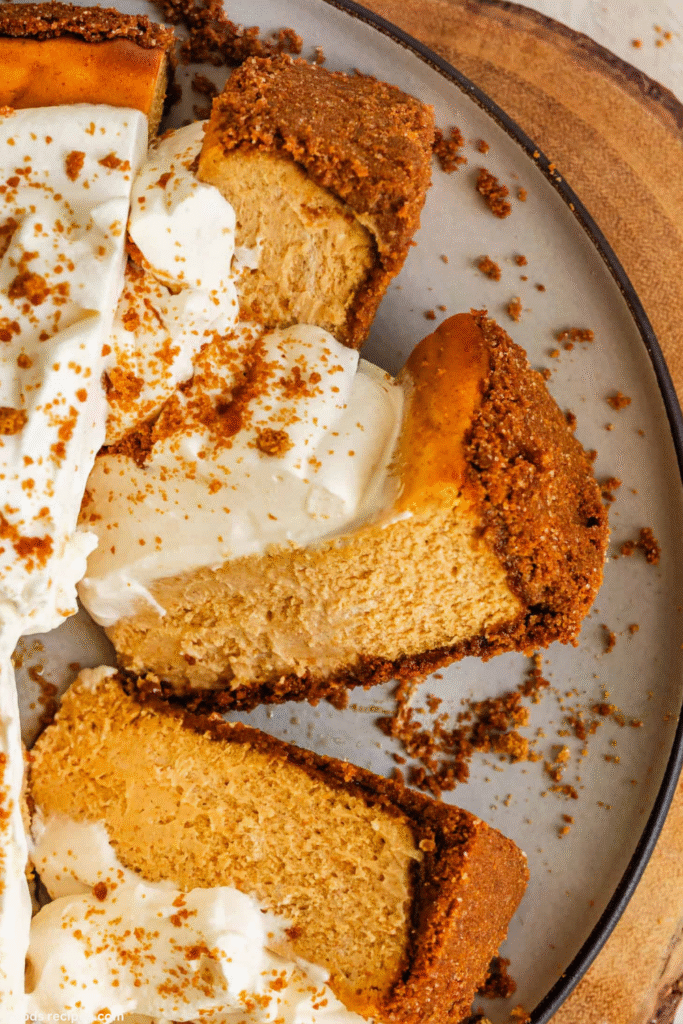
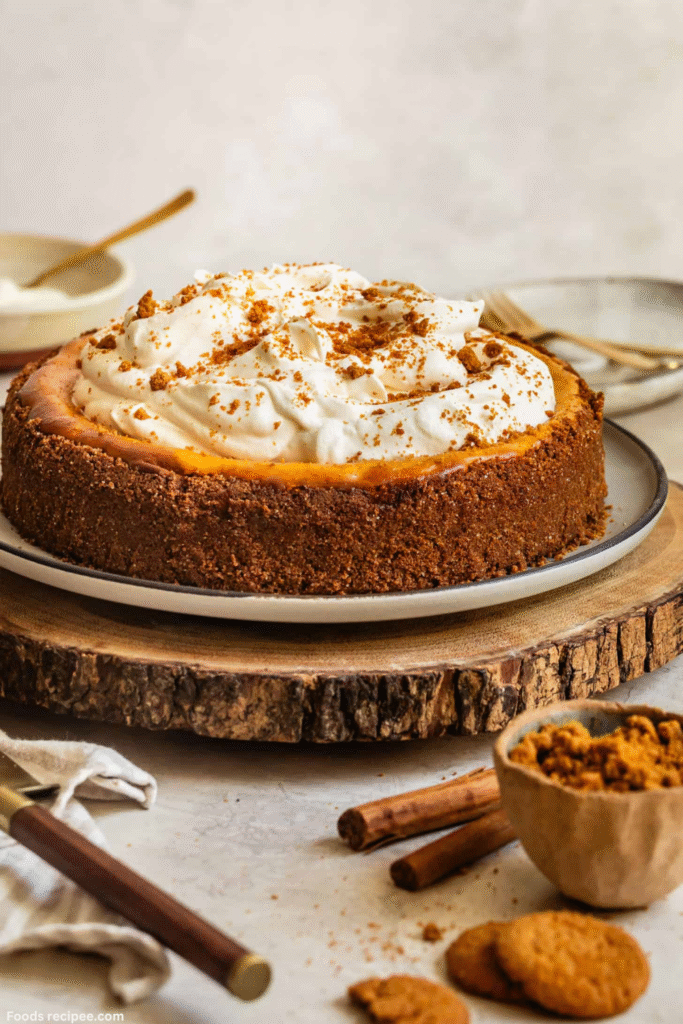
Bakery Quality Gluten Free Pumpkin Cheesecake – Creamy & Perfect Every Time
How To Roast A Pumpkin For Baking:
If you prefer using fresh pumpkin puree instead of canned, it’s simple!
Cut a small sugar pumpkin in half, scoop out the seeds, and place the halves cut-side down on a parchment-lined baking tray. Roast at 200°C (400°F) for 40–45 minutes until tender. Scoop out the soft flesh and blend it until smooth. Let it cool completely before using it in your cheesecake.
Table of Contents
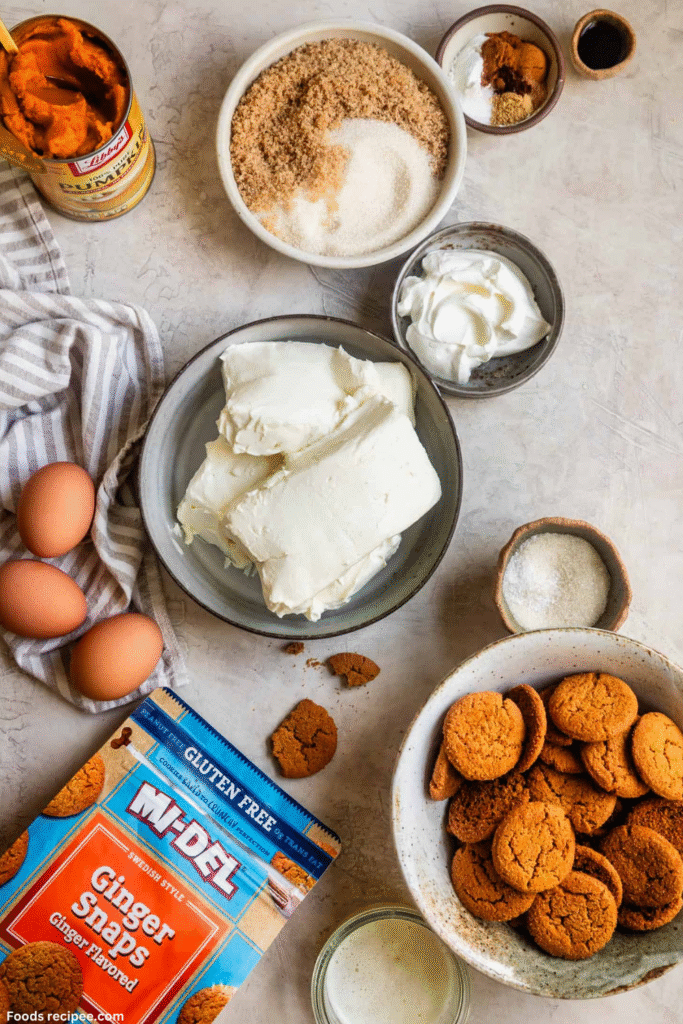
Ingredient Notes:
Here’s what you’ll need to make the perfect gluten free pumpkin cheesecake:
- Gluten-free graham crackers or cookies – for a buttery, crisp crust.
- Unsalted butter – binds the crust together.
- Cream cheese – full-fat for that rich, creamy bakery-style texture.
- Pumpkin puree – fresh or canned, whichever you prefer.
- Eggs – help give the cheesecake structure.
- Sugar and brown sugar – for sweetness and depth of flavor.
- Pumpkin pie spice – adds warmth and that classic fall flavor.
- Vanilla extract – for aroma and balance.
- Sour cream – for the smooth topping layer.
How to Make a Gluten Free Pumpkin Cheesecake (Step-By-Step)
Making this gluten-free pumpkin cheesecake is easier than you think! Follow these simple steps for a perfectly creamy, bakery-style dessert.
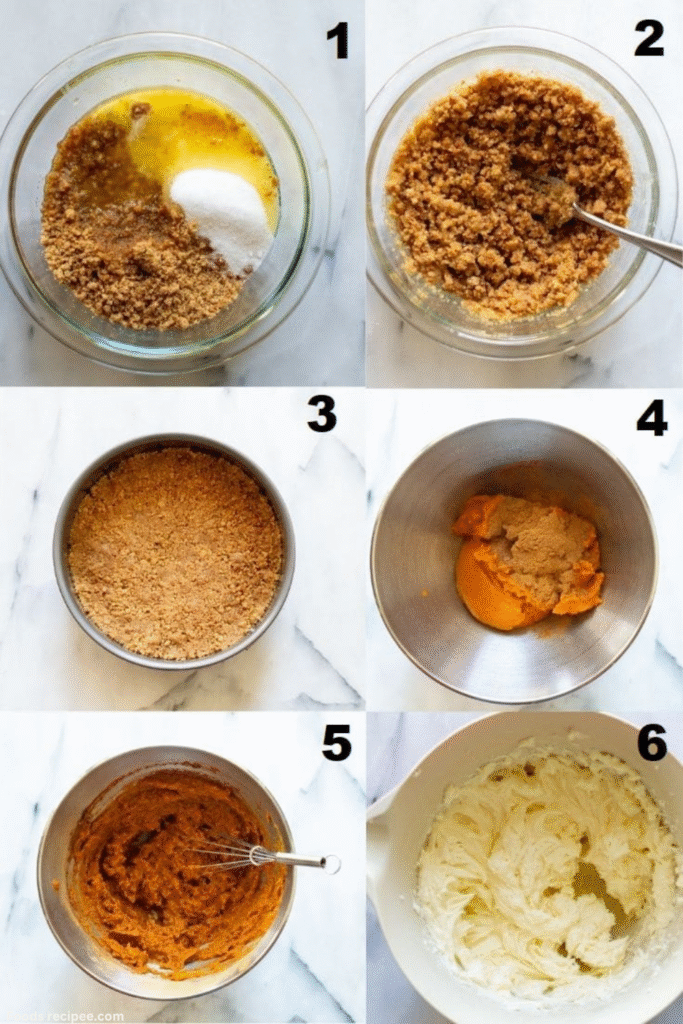
Prepare the Crust
Combine crushed gluten-free graham crackers (or gingersnap cookies) with melted butter and sugar. Mix until the texture feels like wet sand. Press the mixture firmly into the bottom of your springform pan to create an even base. Bake at 175°C (350°F) for about 8–10 minutes, then allow it to cool completely.
Make the Cheesecake Filling
In a large bowl, beat the softened cream cheese until smooth and creamy. Add sugar, pumpkin puree, eggs, vanilla extract, and pumpkin pie spice. Mix on low speed just until everything is combined and silky. Avoid overmixing to prevent air bubbles.
Pour and Bake
Pour the pumpkin cheesecake filling over the cooled crust. Tap the pan gently to release any trapped air bubbles. Place the pan inside a larger baking dish and pour hot water halfway up the sides (this water bath keeps it smooth). Bake for 50–55 minutes, or until the center is slightly wobbly but mostly set.
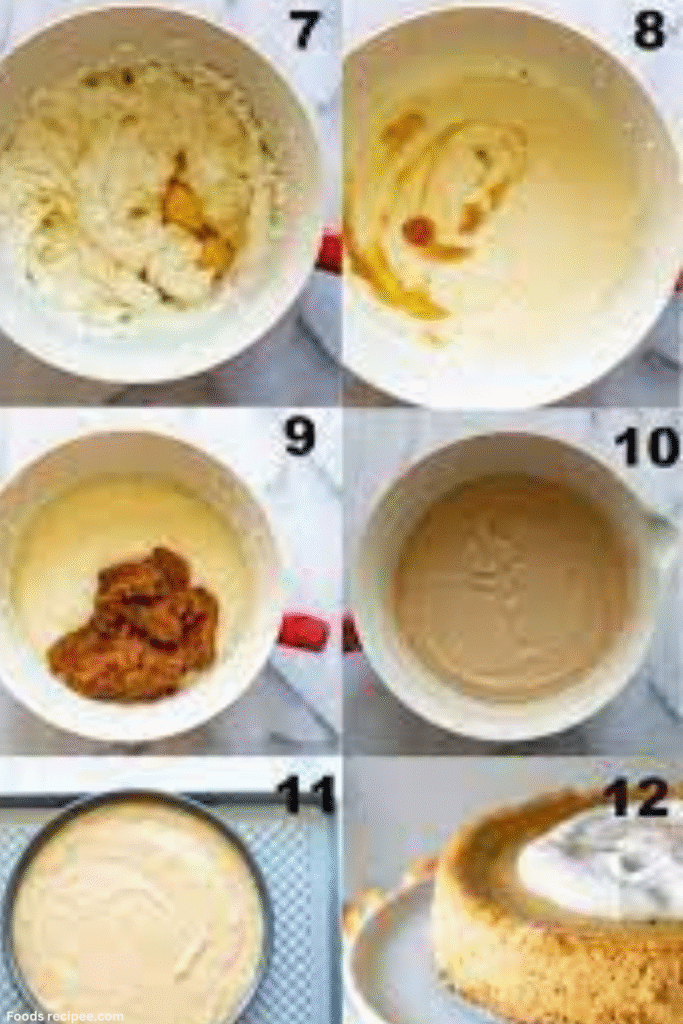
Add the Sour Cream Layer
In a small bowl, whisk together sour cream, sugar, and vanilla. Gently spread this mixture over the hot cheesecake. Return it to the oven and bake for another 10 minutes. This creates a glossy, bakery-style finish.
Cool and Chill
Remove the cheesecake from the oven and cool it on a wire rack for an hour. Once cooled, cover and refrigerate for at least 4–6 hours, or preferably overnight. This step is crucial for the cheesecake to firm up and achieve that perfect texture.
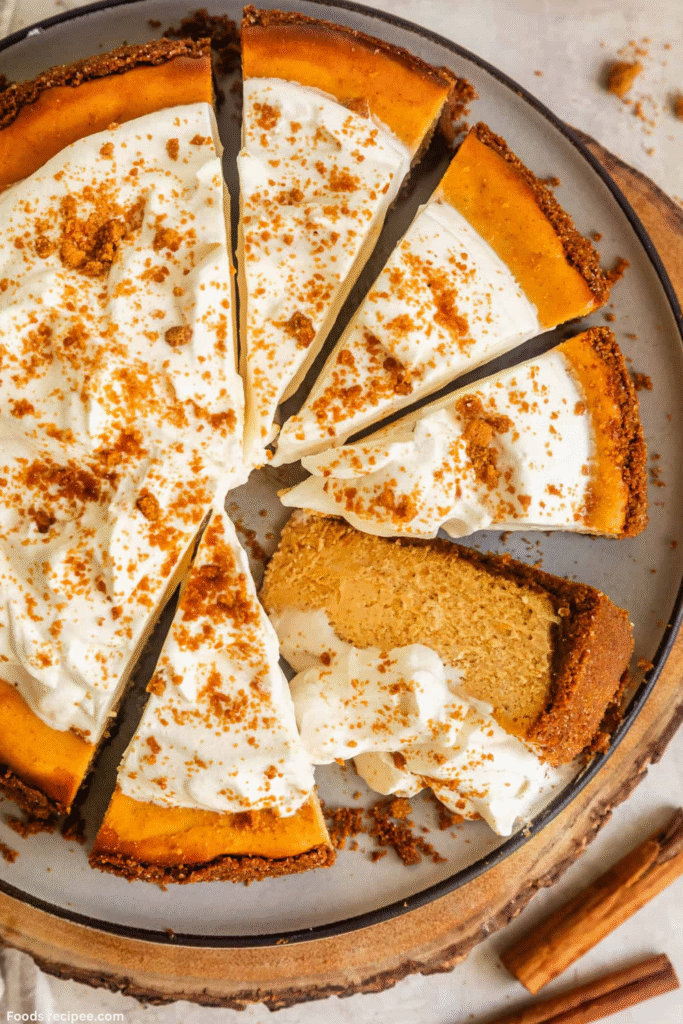
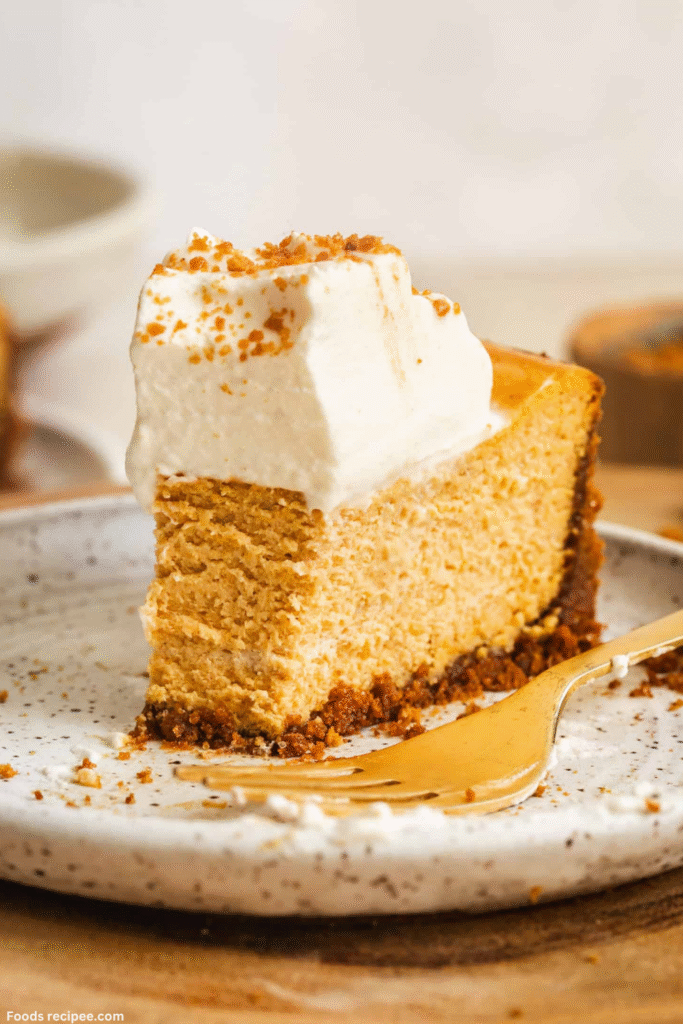
Slice and Serve
Carefully release the cheesecake from the springform pan. Slice with a sharp knife, wiping it clean between cuts for neat slices. Serve chilled and enjoy the creamy pumpkin-spiced perfection!
Gluten Free Cheesecake Crust Options:
- Graham cracker crust using certified gluten-free graham crackers.
- Cookie crust made from crushed gluten-free gingersnaps for a spicy flavor.
- Nut crust using crushed pecans or almonds for a grain-free option.
Tips For Success:
- Always use room temperature cream cheese for a lump-free batter.
- Don’t overmix the batter—this keeps air out and prevents cracking.
- Bake in a water bath for even cooking and a silky texture.
- Cool the cheesecake gradually before chilling overnight for best results.
Frequently Asked Questions:
Q: Can I make this cheesecake dairy-free?
A: Yes! Use dairy-free cream cheese and coconut yogurt in place of sour cream.
Q: How long will it last?
A: Store covered in the refrigerator for up to 5 days or freeze for 1 month.
Q: Can I make mini versions?
A: Absolutely—bake in muffin tins for 18–20 minutes for mini cheesecakes.
More Gluten Free Pumpkin Recipes:
If you loved this cheesecake, try these fall favorites next!
- Gluten Free Pumpkin Scones
- Gluten Free Pumpkin Cream Cheese Muffins
- Gluten Free Pumpkin Spice Shortbread
💖 Love This Recipe?
Don’t forget to leave a comment or rate it below — it really helps other gluten-free bakers find this recipe!
Gluten Free Pumpkin Cheesecake
Equipment
- 9-inch springform pan
- Electric mixer
- Mixing bowls
- Spatula
- Baking tray for water bath
Ingredients 1x2x3x
For The Crust:
- 1 ½ cups crushed gluten-free graham crackers
- 5 tablespoons melted butter
- 1 tablespoon sugar
Pumpkin Layer:
- 450 g (16 oz) cream cheese, softened
- ¾ cup pumpkin puree
- ¾ cup sugar
- 2 large eggs
- 1 teaspoon vanilla extract
- 1 teaspoon pumpkin pie spice
Creamy Sour Cream Layer:
- 1 cup sour cream
- 2 tablespoons sugar
- ½ teaspoon vanilla extract
Instructions
For the Crust:
Press the crust mixture into a greased springform pan. Bake at 175°C (350°F) for 8–10 minutes, then let cool.
For the Cheesecake:
Whisk cream cheese, sugar, pumpkin puree, eggs, vanilla, and spice until smooth. Pour over the crust and bake in a water bath for 50–55 minutes until just set.
For the Sour Cream Layer:
Mix sour cream, sugar, and vanilla. Spread over the cheesecake and bake for another 10 minutes. Cool completely, then chill overnight.
Notes
- You can swap pumpkin puree for sweet potato puree for a twist.
- Always let the cheesecake chill fully before slicing for clean edges.
SPECIAL NOTE
This gluten-free cheesecake has a bakery-level texture—creamy, spiced, and balanced. Perfect for holidays or special gatherings!
Nutrition
Per serving (1 slice):
Calories: 315 | Protein: 7g | Carbs: 28g | Fat: 18g | Fiber: 1g | Sugar: 18g
Nutrition Disclaimer
Nutritional values are estimated using online calculators and may vary based on ingredient brands or portion sizes.